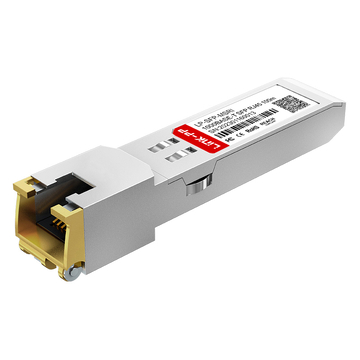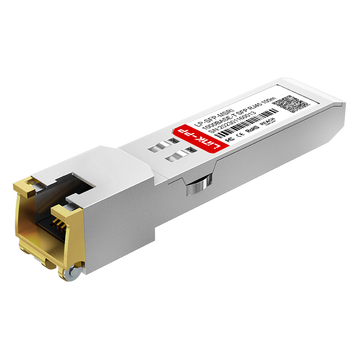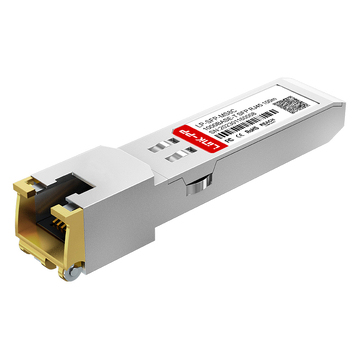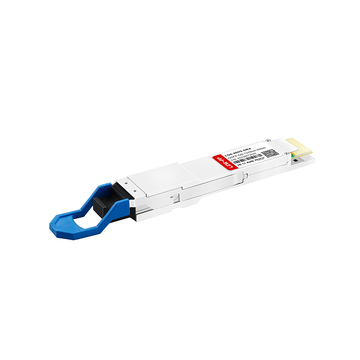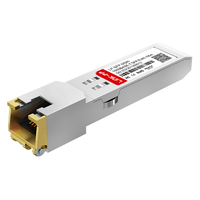
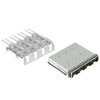

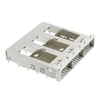

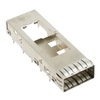
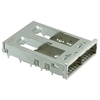
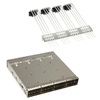
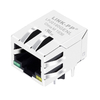
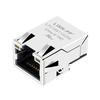
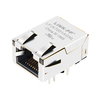




The SP7041-M1-JN is a vital transceiver module widely used to ensure high-speed connectivity across Juniper Networks hardware. However, purchasing OEM modules can quickly become a massive expense when scaling enterprise networks. Because of this, many network engineers are turning to third-party compatible alternatives to cut costs without sacrificing performance.
To make these third-party alternatives work seamlessly, understanding Junos OS EEPROM coding is absolutely critical. Without custom firmware coding, Juniper switches and routers will flag generic modules as unsupported, leading to system errors or disabled ports. This blog will guide you through the exact process of decoding and programming the SP7041-M1-JN alternative for flawless network compatibility.
📋 Understanding the SP7041-M1-JN and Its Role in Juniper Networks
To build a reliable and cost-effective infrastructure, it is essential to understand the specific hardware driving your network connections. The SP7041-M1-JN is a foundational component within many Juniper-powered environments, acting as the critical link between switches and standard copper Ethernet cables.
What is the SP7041-M1-JN Transceiver
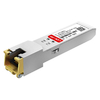
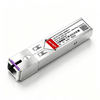
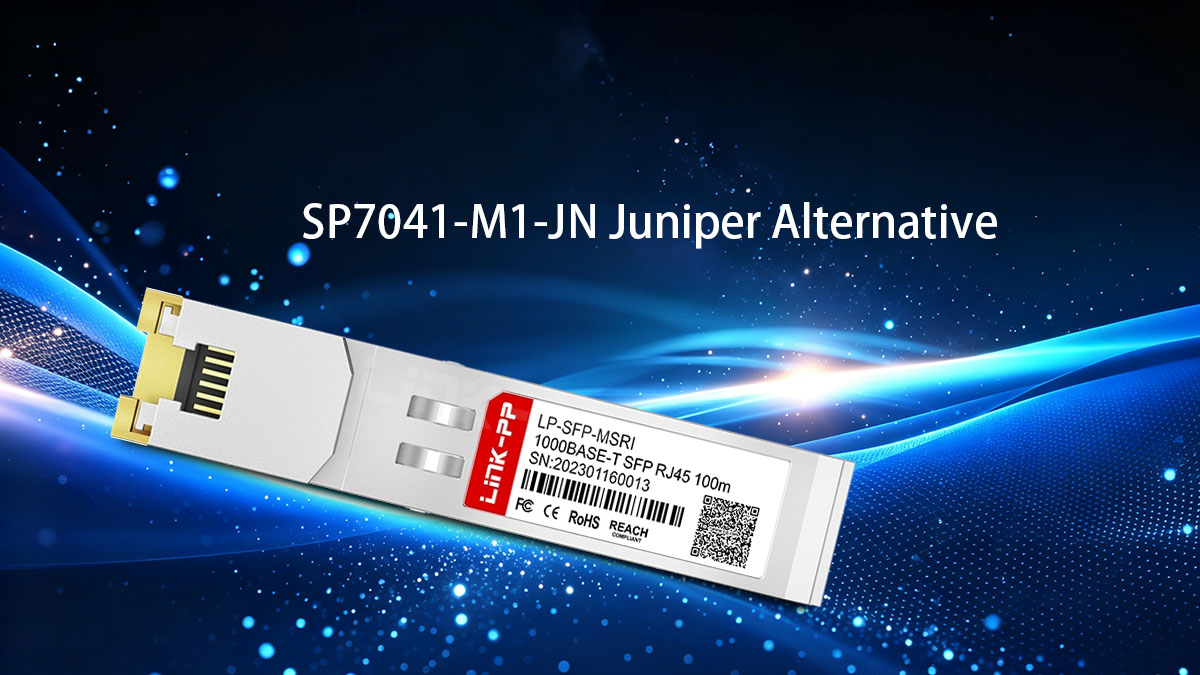
The SP7041-M1-JN is a hot-pluggable copper Gigabit SFP transceiver module designed specifically for high-performance networking hardware. Unlike optical transceivers that use lasers over fiber optic lines, this module features a built-in RJ45 connector to interface with standard copper patch cords. It allows operators to maximize their hardware utility by turning optical ports into copper-based connection points.
This module is highly valued because it allows network administrators to bridge the gap between legacy copper devices and modern high-density switches. By supporting standard Ethernet communication protocols, it integrates effortlessly into existing infrastructure without requiring expensive fiber upgrades.
Key Hardware Specifications and Performance Metrics
This copper SFP transceiver is engineered to deliver stable Gigabit performance with incredibly low latency and minimized power consumption. It operates using standard twisted-pair cabling, making it both highly reliable and deeply practical for everyday enterprise workloads.
The core technical capabilities and hardware limits of this module are detailed in the reference table below:
| Metric | Specification |
| Data Rate | 1000Mbps (1Gbps) |
| Standard | 1000BASE-T |
| Connector Type | RJ45 |
| Max. Cable Distance | Up to 100m over Cat5e/Cat6 |
| Form Factor | SFP |
| Max. Power Consumption | 1W |
| Operating Temperature | ﹣40° C to 85° C |
| Protocols | MSA Compliant, IEEE 802.3ab |
Common Network Applications for This Specific Module
The SP7041-M1-JN is primarily deployed in data centers, corporate network closets, and local area network (LAN) aggregation sites. It is frequently used to connect edge switches to nearby servers, network-attached storage (NAS) devices, and hardware firewalls that only feature copper Ethernet ports.
Additionally, this module is an ideal solution for establishing short-range links between adjacent network racks or cross-connecting distribution switches within a 100-meter limit. Because it utilizes affordable Cat5e or Cat6 cables, it offers an economical way to manage high-density patching without the complexity of fiber management.
Why Network Engineers Seek Third-Party Alternatives
The primary driver for seeking third-party alternatives is the significant price premium attached to OEM-branded modules. When deploying hundreds of access ports across a massive corporate campus or multi-story building, relying solely on OEM-branded transceivers can quickly drain an enterprise budget.
Furthermore, relying on alternative modules helps network engineers overcome supply chain delays and hardware shortages that often plague original equipment manufacturers. High-quality third-party SP7041-M1-JN compatible transceivers offer the exact same physical reliability and electronic performance, allowing teams to scale their network infrastructure quickly and efficiently.
📋 The Importance of Junos OS EEPROM Coding for SP7041-M1-JN Compatibility
Deploying third-party hardware in a premium enterprise environment requires more than just a matching physical form factor. To ensure seamless operation, the SP7041-M1-JN alternative transceiver must speak the same internal language as the hosting Juniper switch or router.
How Junos OS Recognizes Transceiver Modules
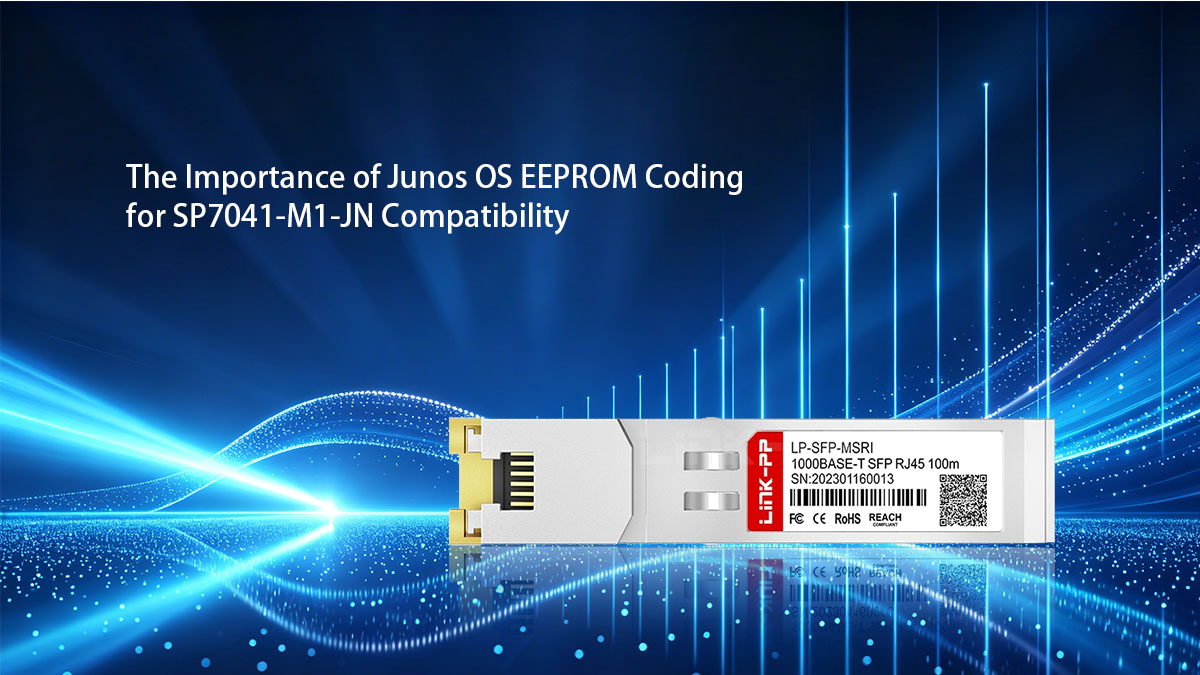
When any transceiver module is inserted into an active port, Junos OS immediately initiates a hardware handshake protocol over the I²C serial bus. The operating system reads the built-in non-volatile memory chips embedded directly inside the module wrapper. This process scans specific cryptographic fields and identifiers to verify the nature of the newly connected transceiver.
If the internal hardware signatures match expected parameters, Junos OS successfully identifies the transceiver type and configures the port parameters accordingly. This background interrogation happens within milliseconds of the module making physical contact with the port pins.
The Role of EEPROM Data in Preventing System Errors
The EEPROM acts as a digital passport for the SP7041-M1-JN module, holding critical configuration parameters such as the vendor name, serial number, and supported bit rate. Junos OS relies entirely on this internal metadata to automatically configure the physical port settings, including link speed, duplex mode, and media type. Without this exact hardware profile, the switch operating system cannot safely initialize the physical layer interface.
When this baseline dataset is properly formatted, it prevents the host system from triggering initialization failures and critical link faults. Correctly configured EEPROM data ensures that Junos OS maps the transceiver to the correct internal PHY driver, preventing the system from disabling the port or misinterpreting the 1000BASE-T link status.
Why Generic Transceivers Fail without Custom EEPROM Coding
Generic, off-the-shelf transceivers usually carry standardized, blank, or multi-vendor identifiers that do not match specific OEM expectations. Because Junos OS enforces strict hardware validation tracking policies, it will often disable the host port completely upon detecting a generic signature. Without specialized firmware programming, the interface remains in a permanent "down" state, rendering the physical copper connection useless.
Custom EEPROM coding alters the internal vendor blocks and verification checksums to mimic an original brand identity perfectly. This targeted adjustment bypasses strict operating system restrictions, forcing Junos OS to treat the high-quality alternative exactly like a native component.
📋 Decoding the EEPROM Structure of a Compatible SP7041-M1-JN Alternative
Successfully programming a third-party module requires a deep dive into the specific memory layout that Junos OS expects to find. By understanding where and how identity data is stored, you can modify the transceiver firmware to replicate an authentic OEM identity perfectly.
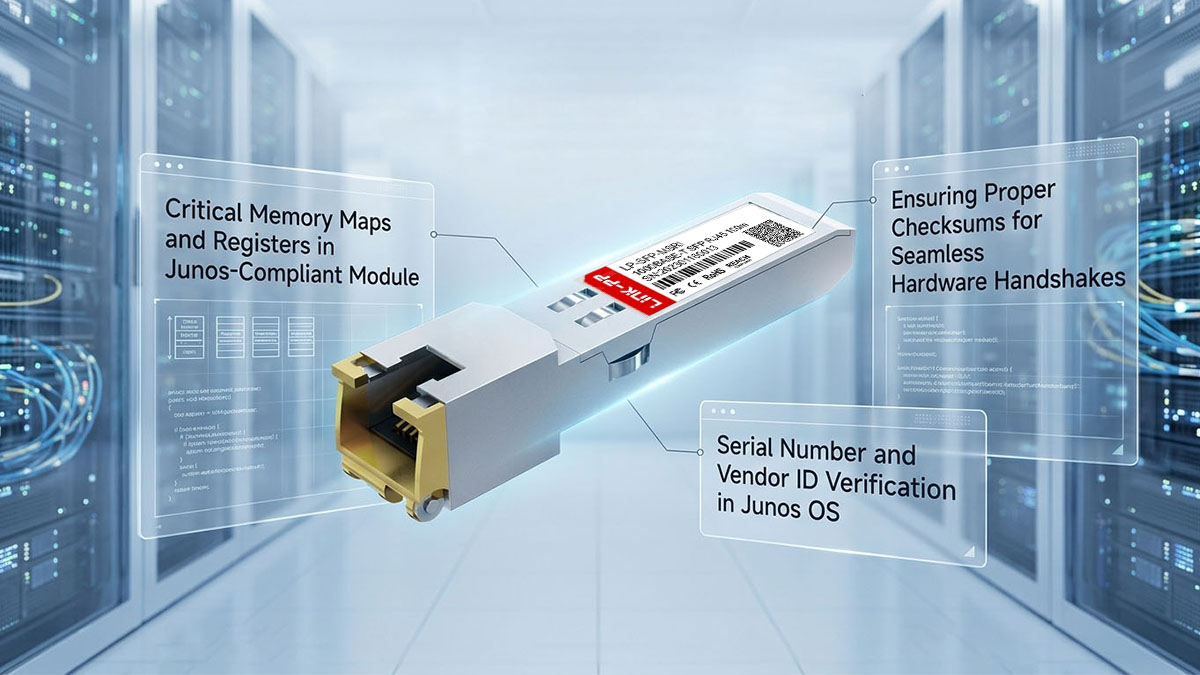
Critical Memory Maps and Registers in Junos-Compliant Module
The internal architecture of an SFP copper module relies on a standard memory structure defined by the SFF-8472 specification. This memory is divided into specific addresses and registers where information about the module's speed, connector type, and encoding is permanently or semi-permanently saved. To ensure full compatibility with Juniper devices, specific registers must be modified with highly accurate values.
The following map outlines the essential memory addresses and register definitions required for a successful Junos handshake:
| Address / Register | Field Name | Description / Junos Requirement |
| A0h (Byte 0) | Identifier | Type of serial transceiver (Must be set to 03h for SFP). |
| A0h (Byte 2) | Connector | Physical interface type (Must be set to 22h for RJ45). |
| A0h (Byte 6) | 1000BASE-T | Transceiver compliance code (Must reflect Gigabit Ethernet over copper). |
| A0h (Bytes 20-35) | Vendor Name | The ASCII character string identifying the OEM vendor name. |
| A0h (Bytes 40-55) | Vendor PN | The specific model part number matching Juniper standards. |
Serial Number and Vendor ID Verification in Junos OS
During the initialization phase, Junos OS scans the vendor identification fields to determine the brand profile of the inserted module. If these fields contain generic text or unrecognized data strings, the hosting switch may flag the module and restrict port operations. The operating system cross-references this vendor metadata with its internal software registry to ensure the hardware aligns with its system profile.
Similarly, unique serial number strings and tracking codes are verified to maintain accurate system inventories. If these identifier blocks are missing, malformed, or blank, the platform might treat the transceiver as an unverified component. Carefully aligning these identity blocks within the EEPROM is therefore a critical requirement for achieving normal operation across the network fabric.
Ensuring Proper Checksums for Seamless Hardware Handshakes
A common pitfall in firmware modification is updating identity text fields while neglecting the mathematical verification registers. Junos OS utilizes Checksum bytes, such as CC_BASE (Byte 63) and CC_EXT (Byte 95), to validate that the stored configuration data has not been corrupted. The switch recalculates these checksums dynamically every time it interrogates the module.
If your custom vendor data does not mathematically match the value stored in the checksum register, a checksum error occurs. When a mismatch is found, Junos OS assumes the EEPROM is corrupted and will automatically disable the physical port for system safety. For a seamless hardware handshake, you must recalculate and overwrite these checksum bytes whenever any other byte in the block changes.
📋 Step-by-Step Guide to Junos OS EEPROM Coding for the SP7041-M1-JN
Transforming a copper SFP into a fully compatible Juniper module requires a precise combination of physical tools and specialized software. Following a structured programming workflow ensures the custom firmware is applied accurately without damaging the underlying transceiver hardware.
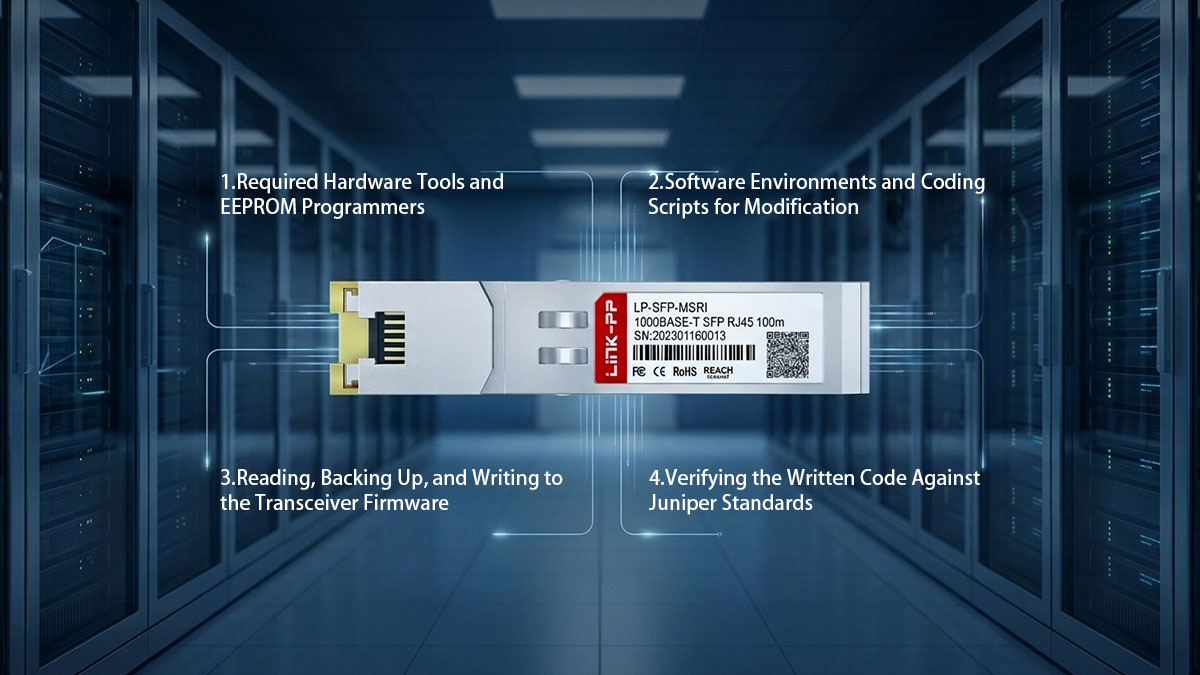
Required Hardware Tools and EEPROM Programmers
To interface with the internal memory of the transceiver, you need a dedicated hardware device known as an SFP EEPROM programmer or coding board. These boards typically feature one or more physical SFP slots attached to a small circuit board with a USB interface. The board serves as the physical bridge, converting standard I²C bus signals from the module into data your computer can process.
When selecting a programmer, ensure it supports writing to unprotected or password-unlocked third-party transceivers. Additionally, standard USB-to-I²C adapter cables can be manually wired to an empty SFP fixture if an all-in-one coding board is unavailable. Having a stable, well-powered hardware connection is vital to prevent data corruption during the flashing process.
Software Environments and Coding Scripts for Modification
On the software side, network engineers use a variety of hex editors and specialized transceiver programming applications to read and modify memory bytes. Popular GUI-based tools allow users to open the raw binary files and manually type hex values directly into the required memory registers. For mass deployments, custom Python scripts are often utilized to automate the process and inject unique tracking numbers systematically.
The software environment must allow you to view data in hexadecimal format, as this is how the EEPROM data blocks are structured. Furthermore, many programming toolkits include built-in checksum calculators that automatically update bytes 63 and 95 when changes are made. Using the right software tools drastically reduces the risk of typographical errors during manual data entry.
Reading, Backing Up, and Writing to the Transceiver Firmware
The programming workflow always begins by inserting the blank module into the programmer and performing an initial read command to extract the existing configuration. Before altering a single byte of data, it is absolutely essential to save this original binary file as a secure local backup. If the new configuration fails or the module behaves erratically, this original image allows you to restore the transceiver to its factory state.
Once the backup is safely stored, you can proceed to modify the specific target bytes, such as the vendor name and part number string. After verifying the hex changes and ensuring the new checksums are calculated, execute the write command through your software interface. This action flashes the updated configuration onto the non-volatile memory chip inside the module, finalizing the hardware modification.
Verifying the Written Code Against Juniper Standards
The final phase of the process involves verifying the newly flashed firmware against known Juniper configuration benchmarks. Run a secondary read command to pull the modified hex data back into your editor and compare it side-by-side with your intended target configuration. This step confirms that the writing process completed successfully and that no data bytes were skipped or miswritten.
Special attention should be paid to the verification of the computed checksum registers to guarantee they match the newly altered data strings. If the binary file aligns perfectly with official template specifications, the transceiver is ready to be removed from the programmer. The module can now be moved to a live switch or router environment for physical compatibility testing.
📋 Testing the Third-Party SP7041-M1-JN in Juniper Switches and Routers
Once the programming phase is complete, the next crucial step is validating the transceiver inside an actual hardware environment. Testing ensures that Junos OS accepts the third-party SP7041-M1-JN compatible module and that the physical copper link performs reliably under production workloads.
Using CLI Command to Confirm Juniper Recognition
After inserting the third-party compatible module into a live switch port, you must use the Junos Command Line Interface (CLI) to check its recognition status. Running targeted diagnostic commands allows you to verify if the operating system reads the custom EEPROM data correctly.
Engineers typically focus on the following key verification areas within the CLI output:
- Product Recognition: Run show chassis hardware to ensure the module is listed.
- Vendor Info: Run show interfaces diagnostics optic to check the registered vendor profile.
- Port Status: Confirm that the link status does not display an "Unsupported" or "Disabled" state.
Monitoring Interface Packet Statistics and CRC Errors Instead of DDM
Standard copper 1000BASE-T SFP 1G modules do not support Digital Diagnostics Monitoring (DDM) metrics like optical power or laser bias. Because you cannot rely on laser metrics, you must monitor the actual packet transmission history to judge the health of the connection.
When evaluating the link stability through Junos statistics, watch closely for these specific indicators:
- Input/Output Errors: Check for any dropped packets during active windows.
- CRC Errors: Monitor Cyclic Redundancy Check counters to detect physical layer noise.
- Framing Faults: Watch for alignment errors that point to bad timing signatures.
Testing Copper Line-Rate Throughput and Packet Delivery Stability
To guarantee the third-party alternative module can handle heavy enterprise traffic, you need to perform a physical throughput stress test. This process involves pushing continuous, full-rate Gigabit traffic through the copper port using network testing tools.
A comprehensive line-rate evaluation should confirm the following operational milestones:
- Sustained Throughput: Maintain a steady 1Gbps data transfer rate without drops.
- Zero Packet Loss: Achieve 100% packet delivery over extended testing cycles.
- Latency Stability: Ensure data propagation delays remain low and consistent under load.
Validating Physical Port LED States Against Junos Software Output
A final physical check involves matching the behavior of the switch port's hardware LED indicators with the Junos software readouts. The physical link and activity lights on the switch faceplate must accurately mirror what is happening inside the software dashboard.
Ensure the physical and digital states align perfectly by checking these specific conditions:
- Solid Green Link: The port LED turns solid green when a physical connection is made.
- Blinking Activity: The LED flashes rapidly to indicate active data transmission.
- Software Alignment: The CLI command show interfaces terse displays an "Up" state matching the physical lights.
📋 Benefits of Choosing a High-Quality SP7041-M1-JN Alternative
Opting for a premium SP7041-M1-JN compatible transceiver module delivers substantial strategic advantages to modern IT infrastructures. By integrating a well-coded alternative, organizations can optimize their procurement budgets while maintaining the strict reliability standards required by enterprise networks.
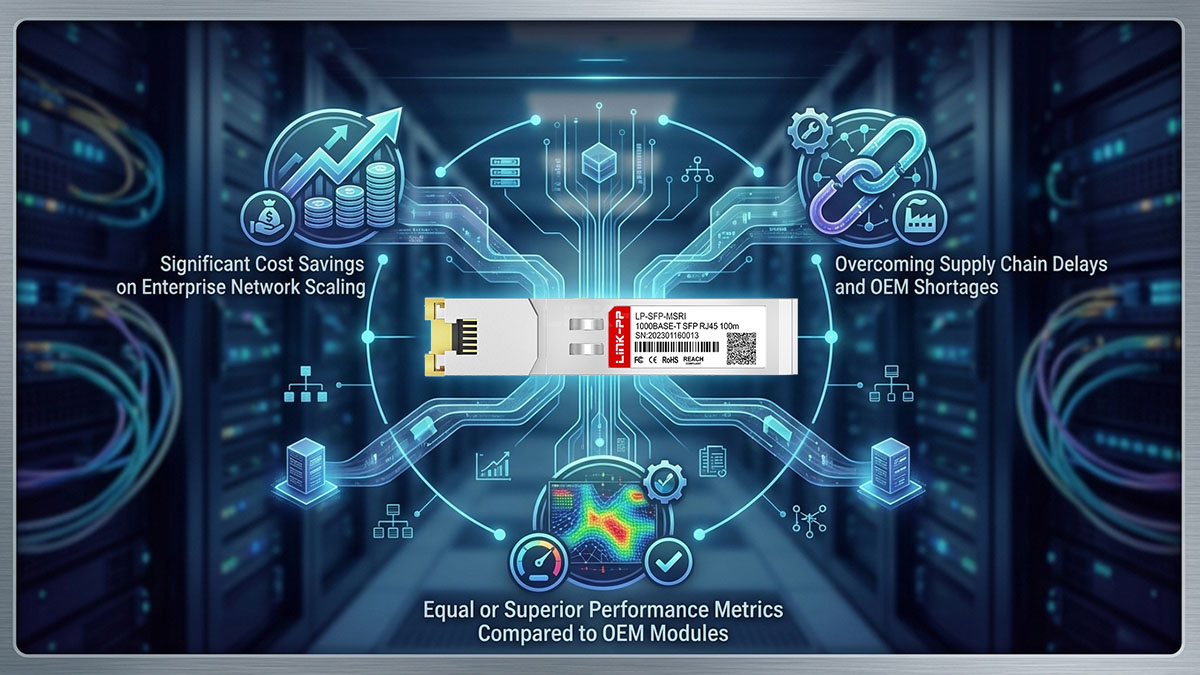
Significant Cost Savings on Enterprise Network Scaling
Deploying original OEM modules across thousands of access ports introduces massive, unnecessary capital expenditures into an IT budget. High-quality third-party alternatives offer a drastic reduction in per-unit costs, allowing companies to allocate resources toward other critical infrastructure upgrades. This dramatic cost efficiency enables rapid enterprise scaling and multi-site expansions without financial strain.
Overcoming Supply Chain Delays and OEM Shortages
Enterprise project timelines are frequently derailed by unpredictable manufacturer backlogs and global supply chain bottlenecks. Independent third-party suppliers typically maintain higher inventory levels and offer much faster distribution cycles than large OEM networks. Utilizing these alternative sourcing channels ensures that critical network upgrades and emergency maintenance proceed without costly hardware delays.
Equal or Superior Performance Metrics Compared to OEM Modules
Premium third-party copper SFP modules such as the LINK-PP LP-SFP-MSRI are built using top-tier internal components that strictly adhere to identical industry hardware standards. Because these modules utilize high-grade PHY chips, they deliver the exact same electrical stability, low latency, and 100-meter reach as original branded units. Choosing a reliable alternative guarantees that network operations experience zero degradation in day-to-day signal integrity or throughput.
📋 Troubleshooting Common EEPROM Coding Issues on the SP7041-M1-JN Alternative
Even with precise procedures, programming third-party firmware can occasionally result in initialization errors or link anomalies. Knowing how to diagnose and isolate these common configuration faults allows you to restore port stability quickly and ensure seamless network operation.
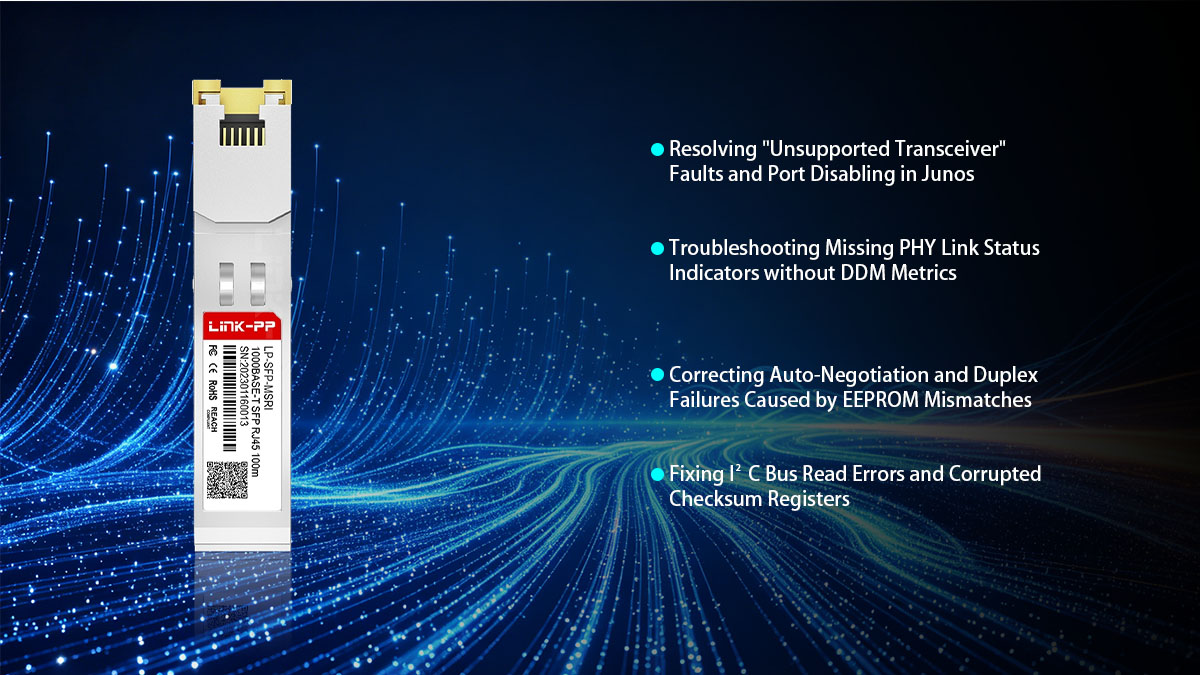
Resolving "Unsupported Transceiver" Faults and Port Disabling in Junos
When a newly flashed module is inserted and the port remains inactive, the Junos command-line interface will often report an "Unsupported Transceiver" error flag. This hard failure indicates that the host switch has rejected the module's identity strings during the initial hardware validation check. To safeguard the system, Junos OS automatically places the affected port into a disabled state, halting all electrical activity.
To resolve this issue, remove the module and reconnect it to your SFP programming board to audit the identity data fields. Verify that the vendor name, part number string, and extension codes match expected Juniper templates down to the exact character. Additionally, you can utilize the “set chassis fpc x pic y port z allow-unsupported-transceiver override” command in Junos as a temporary diagnostic step to determine if the issue is purely signature-based.
Troubleshooting Missing PHY Link Status Indicators without DDM Metrics
Because 1000BASE-T copper modules lack Digital Diagnostics Monitoring (DDM) logic, engineers cannot rely on traditional laser power readings to verify physical layer health. When a module is recognized by software but fails to establish a physical link, diagnosing the root cause becomes more challenging. A missing PHY link status indicator typically points to an internal mapping issue between the EEPROM configuration and the transceiver's onboard transceiver control chip.
Fixing this problem requires checking the compliance codes and connector type fields stored at the beginning of the A0h memory address. If the data erroneously specifies an optical interface rather than a 1000BASE-T copper port, the hosting switch will initialize the wrong internal software driver. Overwriting the media type register with the correct hexadecimal value for an RJ45 connector will restore proper communication with the physical layer hardware.
Correcting Auto-Negotiation and Duplex Failures Caused by EEPROM Mismatches
EEPROM coding mismatches can also cause severe link flapping, auto-negotiation failures, or duplex mismatches when connecting to remote equipment. If the capabilities register inside the module does not clearly advertise full-duplex Gigabit speeds, the switch port may downshift to an unstable half-duplex 100Mbps state. This configuration mismatch results in heavy packet drops, framing anomalies, and sluggish network throughput.
To fix these negotiation issues, check the specific bits assigned to speed and flow control advertising within the transceiver firmware configuration. Ensure that the byte values are configured to support auto-negotiation and force 1000Mbps throughput settings across twisted-pair media. Aligning these signaling registers stabilizes the physical hardware handshake, enabling the copper link to achieve stable, line-rate speeds.
Fixing I²C Bus Read Errors and Corrupted Checksum Registers
An I²C bus read error or an active checksum fault usually signals that the physical write process was interrupted or mathematically flawed. When Junos OS runs its dynamic validation check, it recalculates the overall byte totals and compares them directly to the values in the verification registers. If the values do not match, the operating system flags the firmware as corrupted and shuts down the communication channel.
To remedy a corrupted checksum register, hook the module back up to your software workspace and reload your saved factory backup file. Carefully re-apply your custom identification strings and use a reliable hex editor with an integrated SFF-8472 checksum utility to update bytes 63 and 95. Performing a clean overwrite with freshly calculated validation values ensures the host system can successfully process the data over the I²C bus.
📋 Conclusion: Achieving Seamless Junos Compatibility with the SP7041-M1-JN Alternative Module
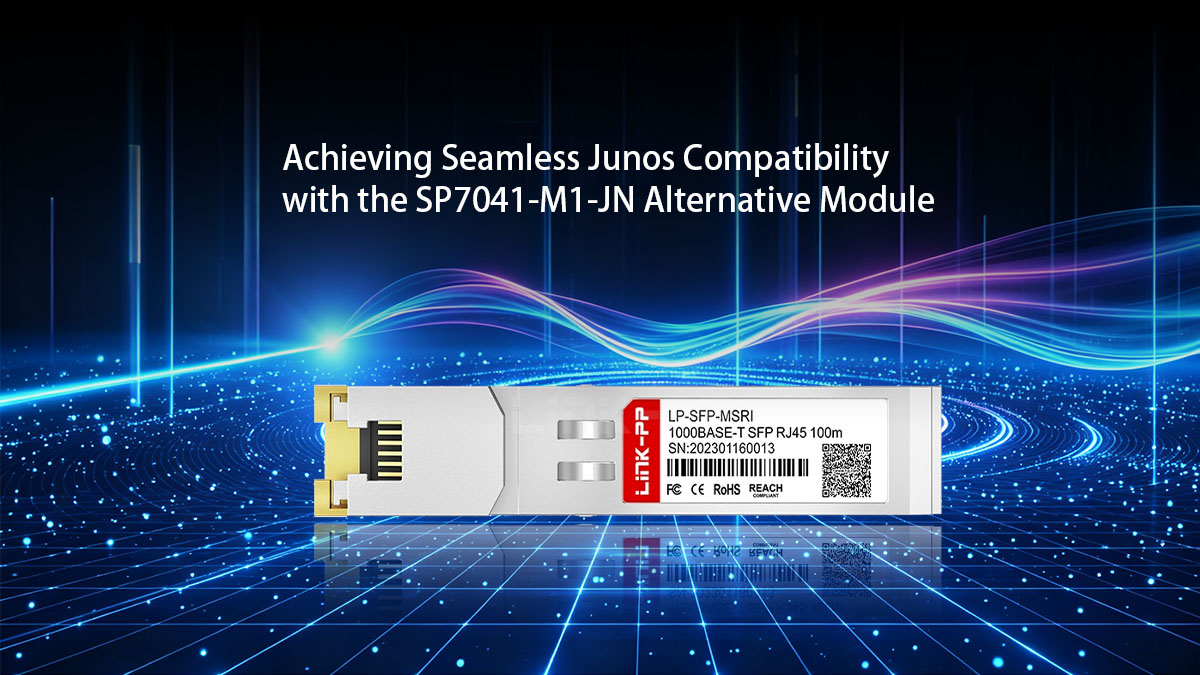
Successfully deploying a third-party SP7041-M1-JN alternative comes down to mastering the internal memory layout expected by Junos OS. By accurately aligning the vendor identifiers, physical media registers, and mathematical checksum values, you can bypass strict OEM restrictions and enjoy seamless hardware handshakes. This targeted firmware customization allows enterprise networks to scale efficiently while maintaining reliable 1000BASE-T line-rate performance.
If you are looking to skip the manual programming hassle and deploy reliable, pre-coded hardware immediately, high-quality third-party choices are readily available. Consider exploring top-tier copper SFP options like the LINK-PP LP-SFP-MSRI compatible module, which is engineered to drop into Junos environments with flawless, out-of-the-box recognition. Visit the LINK-PP Official Store today to source fully tested, carrier-grade transceivers that optimize your infrastructure and protect your bottom line.